


Table of contents
Hello! I finally started writing blogs and to start with here's a little blog from the tools that I've been learning to use lately.
AUTOMATION - cool isn't it? (if you're trying to crawl into DevOps like me)
Thumb rule
The most basic and important rule that I learned in this journey, is that one must know how to do 'it' manually, before writing scripts to automate 'it'.
The repository to follow along with the blog:
So, let's divide the blog into two parts: the manual way and the automatic way.
Manual
So, let's first walk through the process of hosting a web app on S3 manually.
Login into your AWS management console (obviously using your IAM user 😅).
Search for the S3 management console from the services and visit it.
Create a bucket.
Give in your bucket name.
Choose your AWS region, although S3 is a global service.
Uncheck Block all public access.
Create it.
Get into the bucket (click on it).
Upload the index.html object (file).
Under the Properties tab, scroll down to the bottom and enable Static website hosting.
Still, the website won't be accessible through the public URL. Only the authorized IAM user (i.e. you) will be able to access it using the pre-signed URL. But, you had earlier unchecked Block all public access, right?
So, now you need to update the S3 bucket policy so that anyone can access this web app. Under the Permissions tab, you need to Edit the bucket policy.
We'll use the interactive Policy generator.
Type of policy: S3 bucket policy
Statement:
Effect: Allow
Principal: *
AWS Service: Amazon S3
Actions: GetObject
Amazon Resource Name (ARN): <bucket-name>/* (you would need this policy for all the objects in our bucket, right?)
Click on Add statement.
Click on Generate Policy.
Copy the policy in JSON format to the clipboard.
Go back and paste the policy in the Bucket policy field.
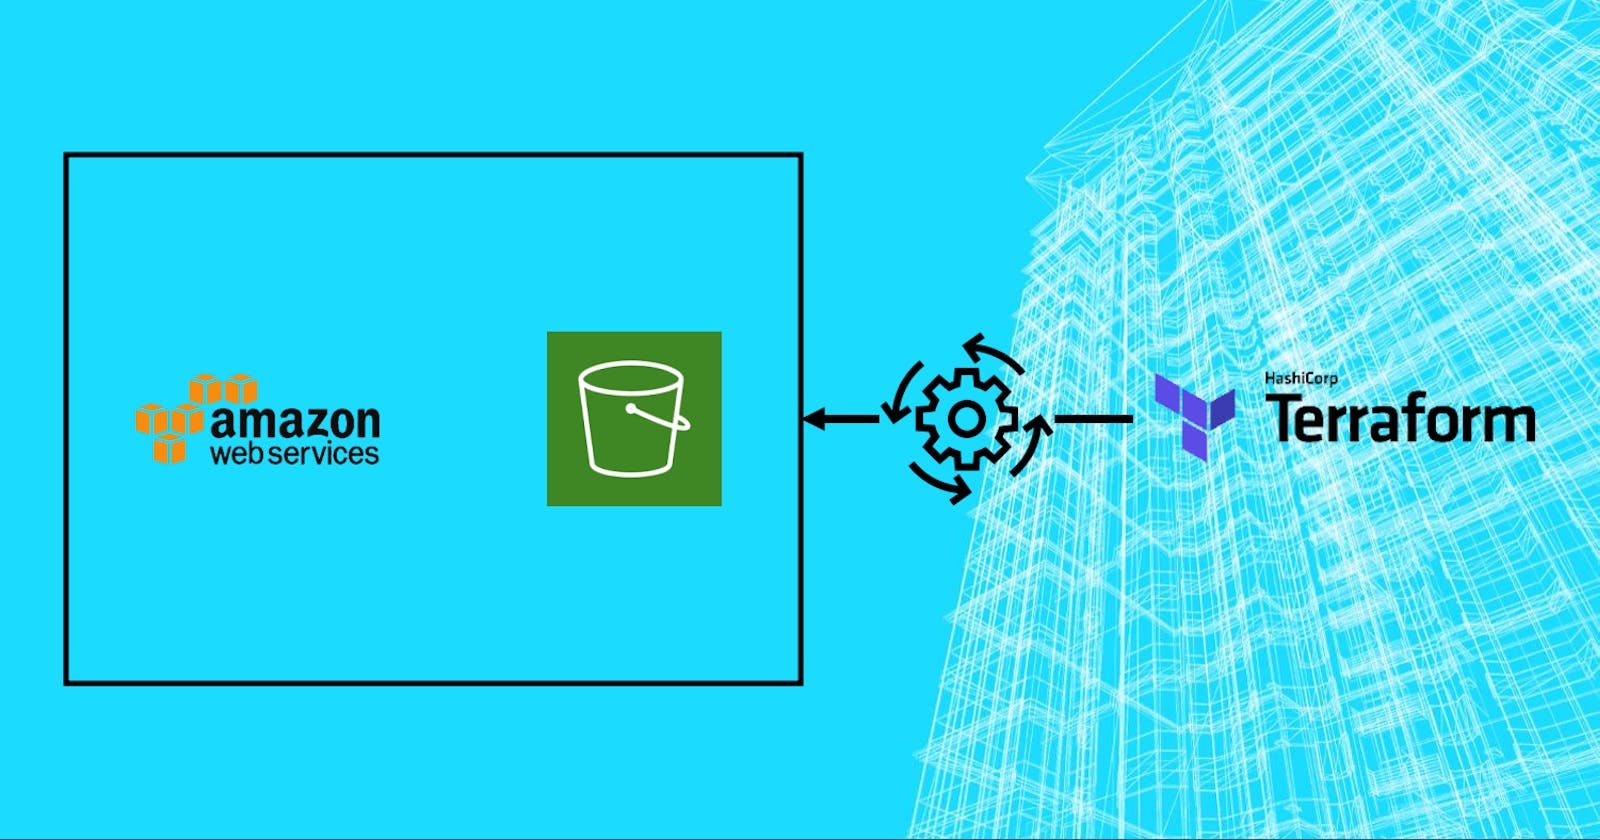
Now that you know how to do it manually, let's move over to automating it. Automating the whole process using Terraform is pretty simple if you know how to use the docs and all you need to automate is the manual steps. HAHA!
Let's automate 'it'
Firstly, for automating this whole process from our local computer, you first need to tell AWS that the script is being run by authorized personnel so that AWS allows for the management of its resources. For this purpose, you need to create access keys for your IAM user.
Now, let's move on to writing the scripts.
Firstly, you need to ask Terraform to download plugins for AWS by providing the provider configurations.
Write a file provider.tf.
# provider.tf
terraform {
  required_providers {
    aws = {
      source  = "hashicorp/aws"
      version = "5.2.0"
    }
  }
}

provider "aws" {
  region     = var.region
  access_key = var.access_key
  secret_key = var.secret_key
}
Here, var represents that the region, access_key and secret_key are defined as variables, for which you write the variable.tf file.
# variable.tf
variable "region" {
  type = string
}

variable "access_key" {
  type = string
}

variable "secret_key" {
  type = string
}
You have defined the variables but haven't declared them yet. To declare the variables, you write the terraform.tfvars file.
# terraform.tfvars
region = "ap-south-1"
Where are access_key and secret_key?
Well, it's never a good practice to write out your access_key and secret_key in public. So, you may define them as environment variables as follows, in the terminal. If we define our environment variables with the prefix TF_VAR_ then Terraform automatically reads them.
export TF_VAR_access_key=XXXXXXXXXXXXXXXXXXXX
export TF_VAR_secret_key=XXXXXXXXXXXXXXXXXXXXXXXXXXXXXXXXXXXXXXXX
Now that, you have configured the provider information, run terraform init to start with Terraform (downloading the required plugins).
Following, the manual steps, the first thing you have next is to create an S3 bucket, or rather, automate creating an S3 bucket. Write a configuration file bucket.tf.
# bucket.tf
resource "aws_s3_bucket" "tf_bucket" {
  bucket = "tf-scorekeeper-v1"
}
Now, you need to automate the process of unchecking Block all public access by writing the configuration file bucket-public-access.tf for it.
# bucket-public-access.tf
resource "aws_s3_bucket_public_access_block" "unblock_public_access" {
  bucket = aws_s3_bucket.tf_bucket.id

  block_public_policy     = false
  block_public_acls       = false
  ignore_public_acls      = false
  restrict_public_buckets = false
}
Now, for a change, first configure the bucket at once. So write the config file bucket-policy.tf to configure the bucket policy, which was the last step while doing all of it manually.
# bucket-policy.tf
resource "aws_s3_bucket_policy" "tf_public_read_access" {
  bucket = aws_s3_bucket.tf_bucket.id
  policy = <<EOF
{
  "Version": "2012-10-17",
  "Statement": [
    {
      "Effect": "Allow",
        "Principal": "*",
      "Action": [ "s3:GetObject" ],
      "Resource": [
        "${aws_s3_bucket.test-bucket.arn}",
        "${aws_s3_bucket.test-bucket.arn}/*"
      ]
    }
  ]
}
EOF
}
Add in the HTML file index.html that will serve as the web app. The file is quite long, so skipping it here, but it is provided in the GitHub repository.
Now, you need to automate the steps to upload the object i.e. the index.html file. For this, write the object.tf file.
# object.tf
resource "aws_s3_object" "object" {
  bucket       = aws_s3_bucket.tf_bucket.id
  key          = "index.html"
  source       = "index.html"
  content_type = "text/html"
}
Now, you need to automate the step of enabling the Static website hosting for S3. So, you write the website.tf config file.
# website.tf
resource "aws_s3_bucket_website_configuration" "tf_website" {
  bucket = aws_s3_bucket.tf_bucket.id

  index_document {
    suffix = "index.html"
  }
}
Now, it's time to run all the terraform commands.
Run
terraform fmtto apply proper formatting to the config files.Run
terraform planto check what Terraform is planning to perform on running the apply command. It should show something like
Finally, run
terraform apply --auto-approveto apply the changes and AUTOMATE the whole process.T.B.: In case of an AccessDenied error, run the
terraform apply --auto-approvecommand once again and you're done.
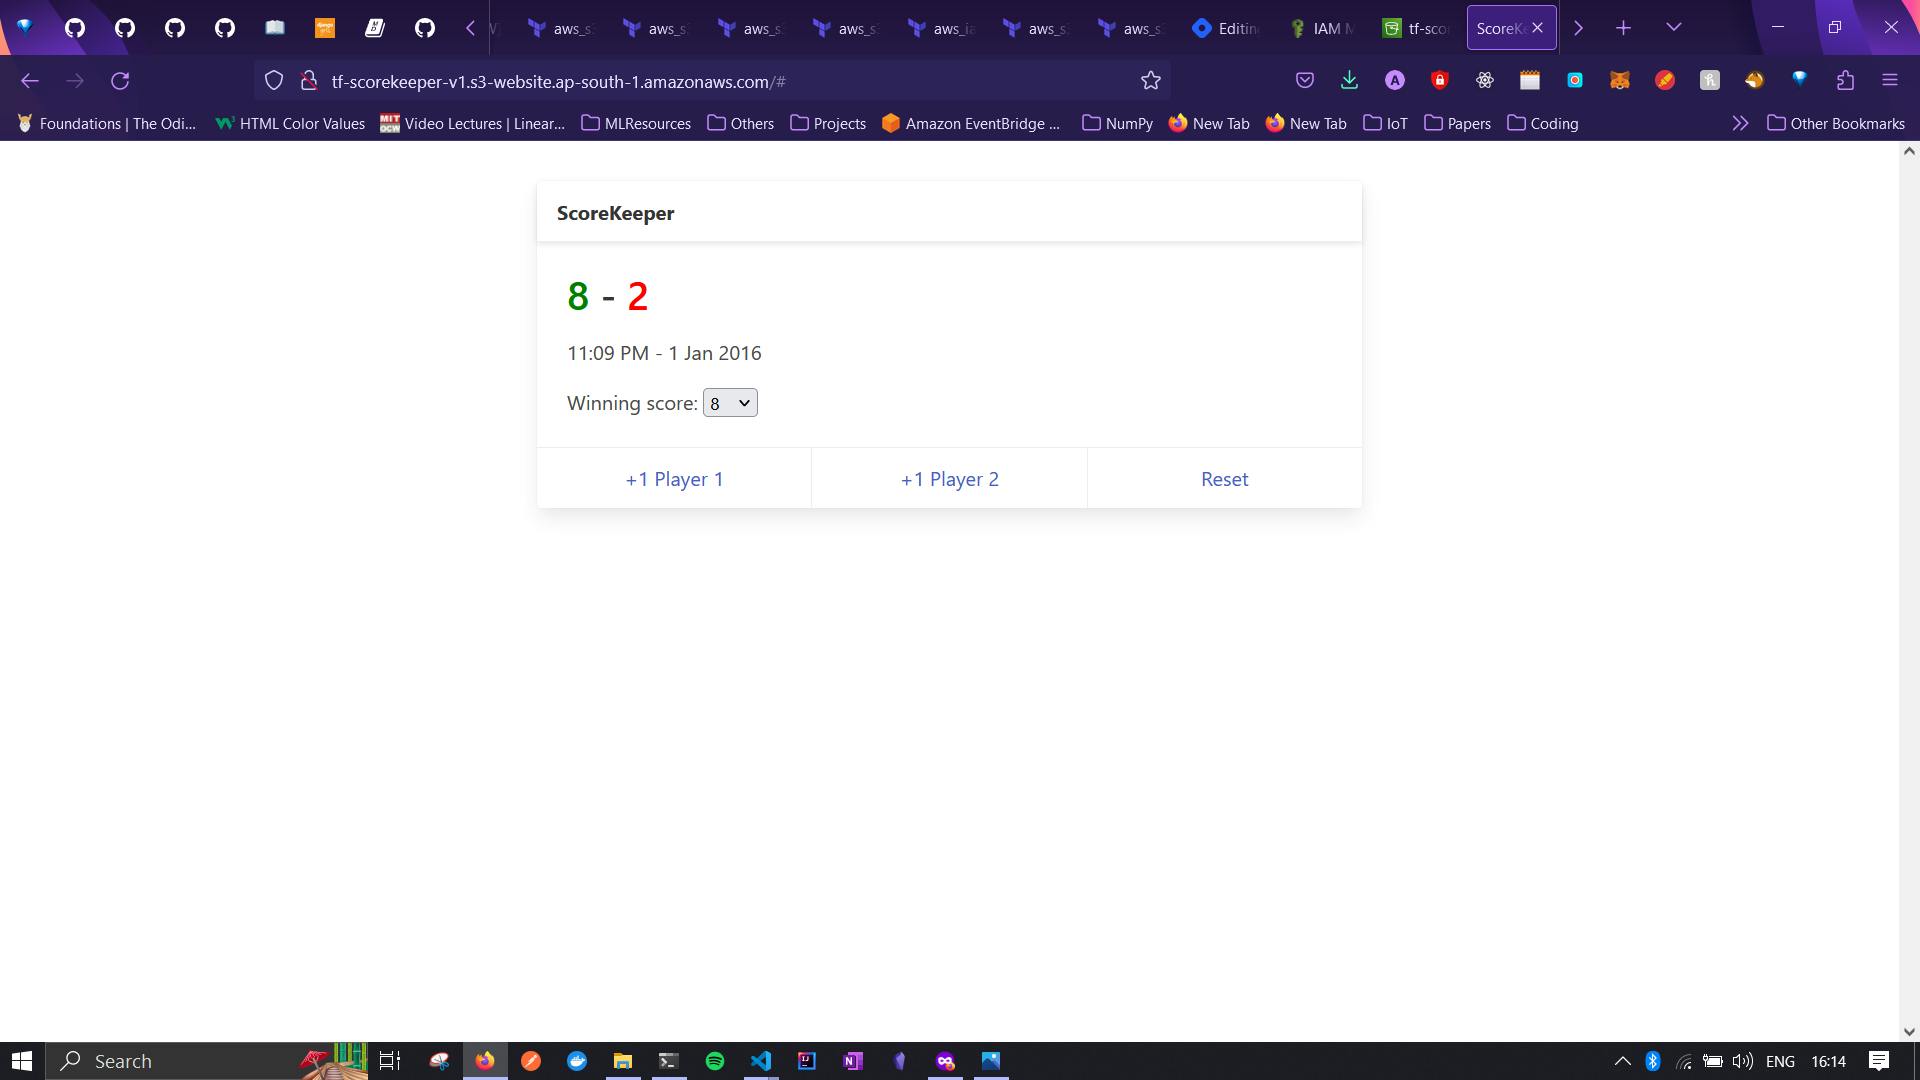
Now, you may check your web app.
Visit the S3 management console, click on your bucket and under the Properties tab, scroll down to the Static website hosting section and visit the URL. Note, it's not the pre-signed one. You'll see your web app, like mine below (8-2 haha).
Well, I'm still trying to figure out ways to tackle the silly error at the end. I have gone through the docs repeatedly, Stack Overflow, Reddit and other discussion forums but haven't found any other solution yet.
As of now, I have destroyed my resources by running the terraform destroy --auto-approve command, which you may also want to do. :/
Hey! Finally, THANKS ❤️ for going through my FIRST blog and yes, if you have a solution to the silly little error at the end, please share it with me. :D